


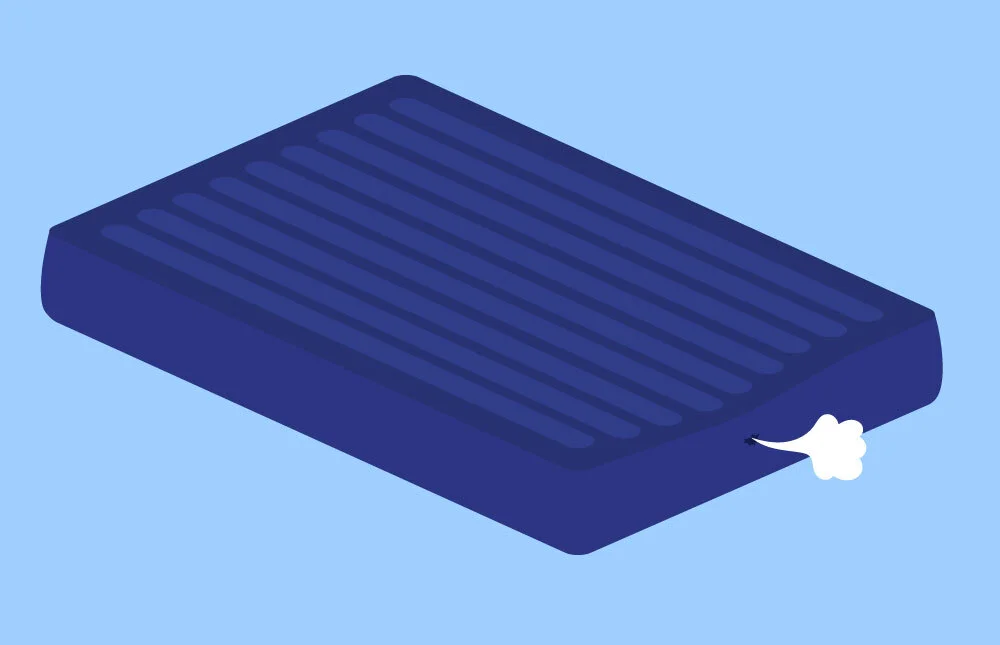
Air mattresses can be a game changer. Whether you’re camping or have an overnight guest, air mattresses are easy, portable, and storable. However, they aren’t as durable as your normal mattress. It’s not uncommon to find small holes in your air mattress that cause them to slowly deflate throughout the night. These tiny tears can be almost impossible to find and cause some major frustration.
And when you do find the hole, how do you fix it? In this article, I’ll cover how to find a leak in an air mattress, how to fix it, and what you can do to prevent more in the future.
How to Find a Leak in an Air Mattress
Finding the leaky area is the first step in solving the problem. Sometimes, these small leaks can seem impossible to find. But, there are some steps you can take to locate the source.
- Remove Bedding
This may seem obvious, but the first step in finding the leak is to strip the air mattress down. With the sheets still on, you won’t be able to properly inspect it.
- Add Some Air
To find where the air is leaking from, you need to add air to the mattress. Be careful to not overinflate the mattress — too much air could cause it to pop, which will leave you with an even bigger problem than just a small hole.
- Inspect Valve(s) and Stem
The most common area for air mattress leaks is the air valve, so checking this first can save you a lot of time. This is the area where you pump in the air and open it to deflate. Check that the valve is closed properly. If the valve isn’t completely inserted into the stem, small amounts of air can leak through over time.
Some mattresses have a double locking feature — it first locks when the valve is pushed into the mattress, and then it locks again when the valve is pushed into the stem. Make sure these mechanisms are fully intact and haven’t been damaged.
- Check the Seams and Edges
The seams and edges of the mattress are areas often prone to tearing. Thoroughly inspect these areas to see if you can feel or hear any leaking air.
- Visual Inspection
Look over the entire mattress carefully and check for any visible damage. Are there any abrasions on the cover? Can you see an area that seems to have deflated a bit? Inspect every part of the mattress and see if you can locate the hole.
- Press and Listen
Make sure your area is quiet and apply pressure down to the mattress. This will cause pressure to build and air to rush out of the hole. Listen closely. The air coming out of the hole will create a hissing sound. Follow the sound and see if you can locate the hole.
- Press and Feel
If you couldn’t locate the hole through listening, repeat the steps above. This time, run your hand along the surface of the mattress and try to feel the air coming out somewhere.
- The Dish Soap Method
If you’re still unable to locate the hole, you can try the dish soap method. Apply soapy water to the surface of the mattress using either a spray bottle or a sponge. Any escaping air will cause the bubbles to expand. Look closely for any growing bubbles — that’s where the hole will be.
How to Fix a Leaky Air Mattress
Once you find the source of the air leak, now you can try to fix it and salvage your air mattress. If the tear is too big, it may not be fixable. In that case, check out our best air mattress guide. Here’s a step-by-step guide to fixing the leak:
- Confirm the Leak
Make sure the mattress actually has a leak. Air mattresses will naturally deflate a bit over time, so it’s normal to wake up with a little less air than you began with. But, you should never wake up practically on the ground.
- Find the source
Use our tips above to find the source of the leak. Make sure you find all potential tears — there may be more than one.
- Mark and Clean the Area
If you used the dish soap method, your mattress may have some soap residue on it. Thoroughly clean the air mattress with some warm water and mark the torn area with a permanent marker so you can easily find it later.
- Let the Mattress Dry
Let the mattress air out until it is completely dry. If it’s still damp, it may not patch up as well.
- Patch
Now, you can patch up the leak in the air mattress. You can do this in a variety of ways: an air mattress repair kit, a bike tire patch kit, or even with plastic material found at home, like a shower curtain. Patch kits should come with instructions on how to use them, but here are some tips if you’re trying to DIY.
- Deflate the air bed completely and ensure the torn area is exposed and flat.
- If the leak is located on a textured part of the mattress, you can gently sandpaper the area to create a flat surface for the patch.
- Apply the patch. Make sure it covers the entire leak as well as a half-inch radius around it.
- Some air mattress patch kits use bandage-like patches. If this is the case, the sticky side should adhere directly to the mattress. Other patches will require a strong adhesive to be applied to the patch directly and then applied to the mattress. You can use duct tape or super glue in a pinch.
- Place a heavy object on the patch for eight to 10 hours. This will make sure the patch dries flat and doesn’t curl.
- Add air to the mattress and test to see if it leaks.
How to Protect an Air Mattress From Leaking
Air mattresses can last a long time if they’re cared for properly. Leaks can happen, but here are some ways to avoid them.
- Don’t add too much air: Overinflating the air mattress will cause too much pressure to build up. Once you add body weight to the inflated mattress, there runs a greater risk that it will get damaged or pop.
- Keep it safe: Make sure the air mattress is always set up in an area that’s free from obstacles or sharp objects. Keeping it away from other items will prevent it from getting poked and popped.
- Add protection: Using bedding with the air mattress can not only add some comfort but also extra protection. The mattress is less likely to get damaged if there is a layer between it and you. Check out our best bed sheet guide for some great options.
FAQs
FAQs
How do you find a hole in an air mattress?
There are a variety of different methods you can use. Add air to the mattress and thoroughly inspect all the seams, edges, and surfaces. Press down on it and listen for air escaping or feel for air coming out. You can also use the dish soap method.
How do you find a hole in an air mattress with soap?
Using a spray bottle or sponge, cover the surface of the mattress with soapy water. Any air leaking from the mattress should cause air bubbles and locate a leak.
Why is my air mattress deflating but there are no holes?
It’s natural for air mattresses to gradually lose a bit of air throughout the night. If it’s a bit deflated when you wake up, this may be why. Another common reason is damage to the air valve or improper use of the air valve.
How do I stop my air mattress from deflating?
Be sure you are pushing the air valve completely into the stem. If the valve is double locking, make sure to push it in completely to activate the second lock. A repair kit can patch the hole. There are also preventative measures you can take, such as keeping the air mattress away from sharp corners and using bedding while sleeping.
Conclusion
Air mattresses are super convenient, but it’s definitely annoying when a tiny pinhole causes you to wake up on the floor. But, with proper care, an air mattress should last years. If it happens to develop a hole — don’t stress! Fixing it should be relatively easy to do.